How To Insulate Exterior Walls
There are three popular ways to insulate exterior walls. The first and highest performance is spray foam insulation. The second and widely used is fiberglass batt insulation. The third is loose fill blown in insulation. The first two types of insulation can be installed in exterior walls when the property is first built or during renovations.
Loose fill insulation can be installed in exterior walls by a process called “retrofitting”. Retrofitting is an insulation installation process where small holes are cut into the sheetrock of your property and insulation is blown into the wall cavities to improve your building or home’s energy efficiency.
Spray Foam Exterior Wall Installation
Spray foam is an excellent option for exterior wall insulation. Used widely in basements, attics, crawl spaces and exterior walls it not only provides insulation but seals air leaks in your property.
Step 1. Understand Scope Of Installation
For jobs bigger than sealing around dryer vents, windows, or other common gaps or cracks its typically more cost effective to hire professional insulation contractors. Professional spray foam installers will have years of experience, safety gear, high pressure spray foam applicators, and the right spray rigs to do large areas efficiently
Step 2. Installation Safety Gear
Spray foam insulation installation produces fumes that are harmful if inhaled. During installation it’s important for installers to use respirators. Once the insulation has cured it is no longer has an impact on indoor air quality.
Step 3. Use The Right Equipment
A big part of making sure spray foam lives up to it’s design specifications is installing it correctly. While some homeowners will get low-pressure sprayers the risk of spending the money to do it wrong isn’t worth the risk. We use high pressure applicators with years of experience to get the job done right, the first time.
Step 4. Choose The Type Of Spray Foam
There are two types of spray foam insulation, open and closed cell. While closed cell spray foam does have a higher insulation performance value it is more costly to install. For this reason, many homeowners choose open cell spray foam as it is fast to install and more affordable.
Step 5. Clean & Clear Debris
Before spray foam can be installed extra nails, dirt, and debris must be removed from inside walls. If it’s left it will affect the quality of the installation. It’s also a good practice to identify areas where it’s especially drafty to ensure they get sprayed correctly to seal air leaks.
Step 6. Install Spray Foam Insulation
This is the most important and sometimes challenging step. The spray must be applied evenly and around the edges of each void before laying a nice layer in the center. This helps seal the air leaks in your exterior walls. It should be done at the right temperature, which is between 60 and 80 degrees Fahrenheit.
Fiberglass Batt Exterior Wall Installation
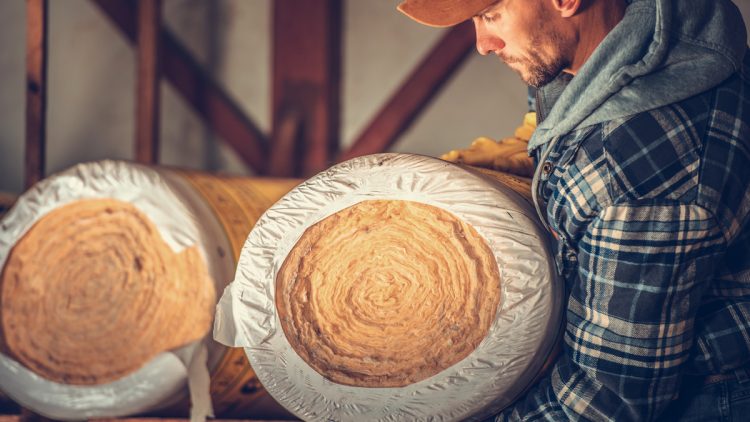
Fiberglass batt insulation is another very popular exterior wall insulation. The sections are sold in rolls and are the sold in standard widths that fit between your exterior wall studs. With most having a paper backing vapor barrier they are installed with heavy duty staple guns.
Step 1. Calculate How Much Is Needed
The first step is to calculate how much fiberglass batt insulation you’ll need. This is done by measuring the total area of your exterior wall or walls. Tally up the number of voids you need to insulate on your exterior walls and buy a little more than needed for odd areas and mistakes.
Step 2. Buy The Right Type Of Fiberglass Batt
Fiberglass batts are sold with different grades and thicknesses for various applications in your home or business. Some are designed to be installed in exterior walls while others are meant for basement or attic walls. Ensure you are choosing the right types for each of the exterior walls you need to insulate.
In addition to standard fiberglass batt you have the option of choosing types of non-fiberglass batt insulation. Some consumers are choosing batts made from cotton, mineral wool, sheeps wool and other natural materials which guard indoor air quality.
Step 3. Collect Tools Of The Trade
Whoever is installing the batt insulation must wear protective gear and have a staple gun and utility knife. Protective gear should include a face mask, gloves, goggles, and clothing that covers the arms and legs.
Step 4. Cut Batts To Fit
Measure the height of each exterior wall void and cut the batts to fit each of these spaces. The width should have been factory made for your walls but the length is variable as some homes have vaulted ceilings.
Step 5. Set In Place & Staple
The next step is to simply put the batts into the wall cavities and staple them into place. This is done by unfolding the side of the paper backing on your batts and stapling it to the wall stud or attic joist. Ensure you have a staple at least every 6 inches to securely hold the insulation.
Retrofit Exterior Wall Insulation
Retrofitting insulation into exterior walls is a hugely popular option for older homes. Whether there just isn’t insulation or the insulation has settled and isn’t effective, retrofitting will help. This type of exterior wall insulation is best done by professionals with the right tools and training. It is done by cutting holes into the walls and using blowing machines to pump the walls full of loose fill insulation. Cellulose is a popular type of loose fill among other good options.


