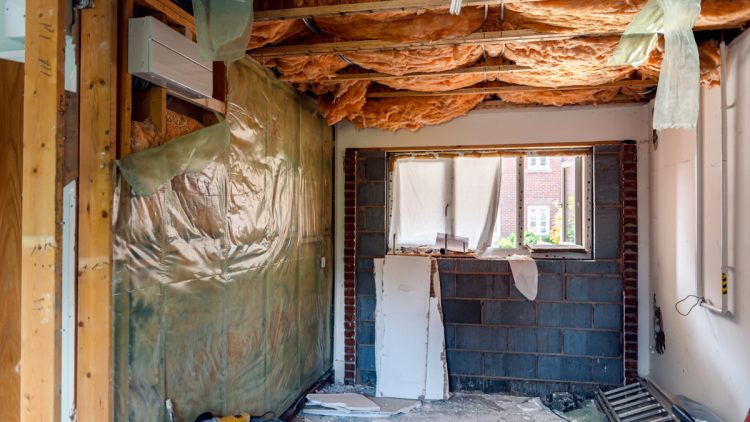
How To Insulate Garage Ceiling Rafters
You have insulated the walls of your garage and now you are wondering if the ceiling should be insulated, as well. Follow our step-by-step guide to insulate your garage ceiling rafters safely and efficiently.
Materials Needed
You will need the following tools/materials for this DIY project:
- Hammer.
- Nails.
- Staple Gun.
- Utility Knife.
- Fiberglass Batts.
- Ladder.
- Drywall.
- Drywall Screws.
- Measuring Tape.
- Gloves.
- Dust Mask.
- Eye Protection.
Once the needed materials are in place, it’s time to start the insulating process.
Step 1. Check For Damage
- Check the area completely for any damaged or loose rafters or fasteners.
- Make sure all rafters have fasteners secured.
- Check for any damage caused by water or termites.
- Tighten any loose fasteners or replace them, if necessary.
- Use measuring tape to figure out the length and width of each rafter.
- Most of the rafters will be the same size except the ones on the ceiling perimeter.
- Record all measurements.
Step 2. Prepare The Area
- Clear out the garage so you have easy access to the ceiling at all times.
- This includes removing cars and personal items from the area.
Step 3. Install Rafter Vents
- Cut your new rafter vents to a similar size according to the insulation.
- Your utility knife will be able to cut through the boards quite easily.
- Place the rafters on the left and right sides of the garage, just like the insulation.
- Use a staple gun and ladder to install the vents on top of the rafters.
- You will need one staple for every 8-10 inches for security.
Step 4. Prepare Insulation
- Place your insulation outside of the garage at this time.
- Use your utility knife to cut the insulation so it fits between each rafter.
- Place pieces of identical square footage to the left side of the garage.
- Place the perimeter pieces on the opposite side of the garage.
- This will help you from spending too much time searching for each piece.
Step 5. Install The Insulation
- Install the insulation you placed on the left side of the garage first.
- Install it in the rafters below the rafter vents.
- You may be able to push it into place if you have batt insulation.
- Align the front of the piece with the rafter front so the back of the insulation faces downward.
- Rigid foam can face either direction.
- Grab the irregular perimeter pieces of insulation, placing them between the rafters.
- After insulation, check the entire ceiling for any gaps.
- Fill any gaps with leftover pieces of insulation and rafter vents.
Barrier Insulation Offer Batt And Roll Insulation in Phoenix
If you live in the Phoenix Valley and are considering bat and roll insulation, Barrier Insulation can help! Barrier Insulation offers spray foam insulation installation in Phoenix, Mesa, Chandler, Scottsdale, Glendale, Gilbert, Tempe and more.
As the leading bat and roll insulation installer, our team is dedicated to providing the best insulation installation, complete customer satisfaction, and meticulous application of your insulation. To get your cost to install spray foam insulation at your home or business please visit our contact page, or give us a call at 602-499-2922.

